
Add an AI support agent to Next.js, WordPress, Shopify, or any site
One hub for every install path we ship: the universal script tag, the React Server Components SDK, the WordPress plugin, the Shopify app embed, and the iframe. Working code for each, plus a candid guide to picking one.
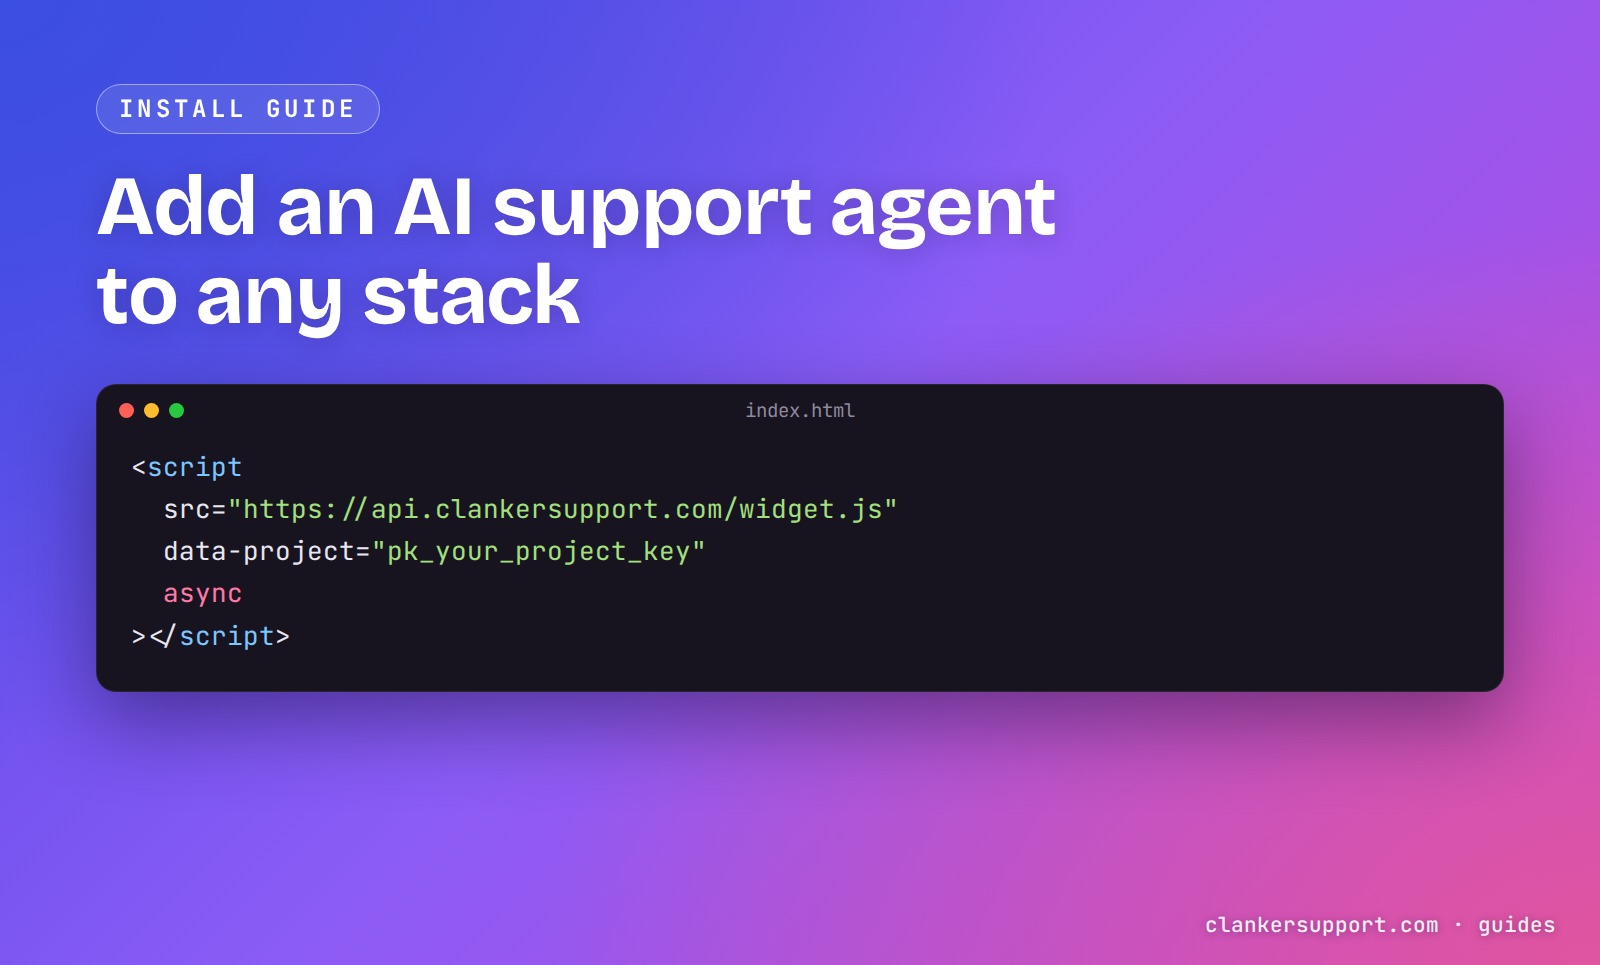
You can add an AI support agent to any website by pasting one <script> tag before </body>. On Next.js there's a Server Components SDK on npm, WordPress gets a plugin, Shopify gets an app embed, and an iframe covers builders that allow none of the above. This guide shows all five installs with working code.
Full disclosure up front: this is our product tutorial. We build Clanker Support, an open-source (MIT), self-hostable support agent that answers from your docs and escalates to a human when it should. Every snippet below is the real, current install path — including the two channels where we'll tell you plainly what's live and what's still on its way.
The script tag: works on every stack
This is the install we designed first, and it's the one everything else wraps. Paste this just before the closing </body> tag of your site:
<script
	src="https://api.clankersupport.com/widget.js"
	data-project="pk_your_project_key"
	async
></script>
That's the whole install. widget.js is a single self-contained file — React, the chat UI, markdown rendering, streaming, all inlined — served with a five-minute cache. The script mounts the widget into a shadow DOM appended to document.body, so your site's CSS can't break the widget and the widget's styles can't leak into your page. It loads async, so it never blocks your page render.
Your project key is safe to expose in HTML. It only identifies which project answers the chat — clankersupport.com itself runs the widget with its real key committed in the repo. The dashboard generates this snippet pre-filled for you under Projects → your project → Widget → Install.
Configuration lives in exactly five data-* attributes:
data-project(required) — your project's public key. Without it the script throws instead of silently doing nothing.data-api(optional) — the API origin. Defaults to whatever origin servedwidget.js.data-brand(optional) — accent color; defaults to#111827. Most people set this in the dashboard instead.data-mode(optional) —bubble(default, the floating launcher) orinline.data-escalation-threshold(optional) — how many visitor messages before the widget offers a human. The agent default is 3.
There is no sixth attribute. Position, welcome message, starter questions — those are project settings in the dashboard, fetched at runtime, so you can change them without touching your site's HTML.
The data-api default is the detail we're most pleased with. Here's the actual resolution logic from the widget source:
const apiUrl =
	script?.dataset.api ??
	(script?.src ? new URL(script.src).origin : window.location.origin);
The widget derives its API origin from the URL that served the script. So if you self-host — the whole product is MIT-licensed, bring your own model keys — you serve widget.js from your own domain and the exact same snippet points at your own API. Zero config divergence between hosted and self-hosted.
If you're on Rails, Django, Laravel, plain HTML, Astro, Vue, Hugo — anything that renders a </body> — this is your install, and you're done. Full reference: docs.clankersupport.com/integrations/widget.
Next.js: the React Server Components SDK
The script tag works fine in Next.js. But if you're on Next.js 15 / React 19, we ship a first-class package, @clankersupport/widget-rsc, that plays properly with the App Router. Three steps.
Install it — React 19 and React DOM are the only peer dependencies, and there are zero runtime dependencies:
npm install @clankersupport/widget-rsc
Render it once in your root layout, before </body>:
import { ClankerSupport } from "@clankersupport/widget-rsc";

export default function RootLayout({ children }) {
	return (
		<html lang="en">
			<body>
				{children}
				<ClankerSupport apiKey={process.env.NEXT_PUBLIC_CLANKER_KEY!} />
			</body>
		</html>
	);
}
And put the key in .env.local:
NEXT_PUBLIC_CLANKER_KEY=pk_your_project_key
What you get over the script tag: ClankerSupport is an async Server Component. It fetches your widget config (branding, privacy URL) on the server, cached and revalidated every five minutes, so the client never flashes the wrong branding. The fetch is wrapped in Suspense with a null fallback and returns null on any failure — if our API is slow or down, your page streams normally and the widget mounts with safe defaults. It fails soft; it never blocks your app.
There's also a headless entry, @clankersupport/widget-rsc/headless, with Radix-style unstyled primitives — data-* state attributes, asChild composition, and a useClankerSupport hook — for teams that want the agent behind their own UI entirely.
We wrote a full tutorial on how (and why) this package works: an AI support widget as a React Server Component. Reference docs live at docs.clankersupport.com/integrations/react-sdk.
WordPress: plugin via zip upload (today)
Honest status first: the plugin has been approved for the WordPress.org plugin directory, but as we publish this (July 2026) the listing isn't live yet. Until it is, you install it the classic way — a zip upload. No FTP, no code edits, but also not yet a one-click search-and-install from wp-admin.
The install today:
- Build the zip from the plugin package in the GitHub repo:
pnpm packageinsidepackages/wordpress-pluginemitsdist/clanker-support-<version>.zip. - In wp-admin: Plugins → Add New → Upload Plugin, pick the zip, activate.
- Under Settings → Clanker Support, paste your project's public key and save.
The plugin (v1.0.1, GPLv2 or later, requires WordPress 5.8+ and PHP 7.4+) enqueues widget.js asynchronously with the same data-* attributes the dashboard snippet uses, on every public page and nowhere in wp-admin. Settings cover the floating-bubble toggle, the project key, the API URL (default https://api.clankersupport.com, changeable if you self-host), brand color, and escalation threshold. The settings page runs a live connection check against the API and shows you a status pill, so a typo'd key fails loudly at save time instead of silently on your live site.
If you want the chat in a page instead of (or as well as) the floating bubble, there's a shortcode that renders the full-page chat in an iframe:
[clanker_support]
[clanker_support width="500" height="700"]
Default size is 400×600, and it works independently of the bubble toggle. The plugin stores exactly one option and one transient in your WordPress database — conversations live in Clanker Support, not in WP — and uninstalling removes both.
The launch post has the longer story: our WordPress AI support plugin. Reference: docs.clankersupport.com/integrations/wordpress.
Shopify: app embed now, App Store listing on the way
Same candor here: the Clanker Support Shopify app exists, is deployed, and works — it's a theme app extension we've tested on a live storefront. The public Shopify App Store listing is on its way but not live yet as we publish (July 2026). Until it lands, any Shopify store can run the agent today with the script tag.
The manual path today: Online Store → Themes → Edit code → layout/theme.liquid, paste the script tag from the first section just before </body>, save. Done — same widget, same dashboard.
Once you have the app installed, the flow is nicer: paste your project key on the app's settings page in Shopify admin, then in the theme editor open App embeds, toggle Clanker Support on, and hit Save. One thing Shopify makes per-theme: app embeds don't follow you when you publish a different theme, so re-enable the toggle after a theme switch.
Two design decisions worth knowing before you install anything on a store:
- Zero permission scopes. The app requests no access to your orders, customers, or products. It stores only its own settings. If a support app asks for read access to your entire order history just to render a chat bubble, ask why.
- A double-bubble guard. If the manual script tag is already in your theme when you enable the app embed, the embed detects it and stands down. One widget, never two — we verified this in testing because we knew people would migrate from the manual install.
The widget loads after page load, so it doesn't drag on storefront performance scores. Uninstalling the app removes the embed and clears its stored data. Reference: docs.clankersupport.com/integrations/shopify.
Everything else: the iframe embed
Some platforms won't let you add a script tag at all — locked-down site builders, sandboxed help-center pages, internal tools. For those, the API serves a CSP-hardened full-page chat at /embed/<key> that you can iframe from anywhere:
<iframe
	src="https://api.clankersupport.com/embed/pk_your_project_key"
	width="400"
	height="600"
	title="Support chat"
	style="border: 0; border-radius: 12px;"
	loading="lazy"
></iframe>
The embed page mounts the widget in inline mode with your project's brand color and escalation threshold baked in server-side — it reads them from your project settings, so there are no attributes to pass and nothing to update when you rebrand. Its Content-Security-Policy locks down everything except the one thing an embed must allow:
default-src 'none'; script-src 'self'; style-src 'unsafe-inline'; connect-src 'self'; img-src 'self' data:; base-uri 'none'; form-action 'none'; frame-ancestors *
frame-ancestors * because being iframed by any site is the point; everything else is shut. It also ships noindex, a no-referrer policy, and denies camera/microphone/geolocation/payment outright.
One more use for it: open the embed URL directly in a browser tab and you're talking to your agent — the fastest way to test your knowledge base before installing anything anywhere.
Which install should you pick?
Our honest decision guide, shortest answer first:
- Any server-rendered or static site (Rails, Django, Laravel, Astro, plain HTML, Hugo, ...): the script tag. It's the product's native install; everything else is a wrapper around it.
- Next.js 15 / React 19: the
@clankersupport/widget-rscSDK if you want server-fetched config, Suspense fail-soft behavior, or the headless primitives. The plain script tag in your layout is also completely fine — don't add a dependency you don't need. - WordPress: the plugin, because the settings page, connection check, and shortcode earn their keep — but know it's a zip upload today, not a directory search result.
- Shopify: script tag in
theme.liquidtoday; switch to the app embed when the listing is live (the double-bubble guard makes the migration safe). - Site builders with no script access: the iframe embed. It's the fallback that works when nothing else is allowed.
And when not to use us at all: if your support runs primarily over WhatsApp, SMS, or phone, we don't do those channels — we're web widget plus email threading. And there's no free hosted tier; if you want free, the answer is self-hosting with your own model keys, which is a genuine first-class path, not a demo.
After install: two things before you close the tab
Whichever channel you installed through, the same product is behind it, and an agent with nothing to read is just an apology generator. Two setup steps make the difference:
Add knowledge sources. In the dashboard, a project's knowledge base takes three source kinds: URLs (we crawl the page into a snapshot — there's a re-crawl button when your docs change), free-text snippets, and hand-written Q&A pairs for the questions you already answer weekly. There's no vector database in the pipeline — sources are byte-budgeted directly into the system prompt — and the models can search the live web when a question goes beyond your docs. Later, when an operator writes a particularly good reply in the inbox, you can promote it into the knowledge base straight from the thread, so the agent learns your best answers.
Set your escalation email. When a visitor asks for a human (or the agent decides it's out of its depth), the conversation escalates: an email goes to your project's notify address and, optionally, a message to a Slack webhook. The email's Reply-To is wired so that just replying from your inbox threads your answer straight back into the visitor's chat — no dashboard login required, though the dashboard inbox (tags, search, AI triage summaries, unread counts) is there when you want it. We wrote up how the email threading works in setting up email threading.
Visitors can rate individual answers thumbs up/down and leave a 1–5 CSAT when the conversation closes, so you'll know quickly whether the sources you added are pulling their weight.
FAQ
How do I add an AI support agent to my website without a developer?
If you can paste one line of HTML before </body>, you can install it yourself — the dashboard generates the exact snippet with your key pre-filled. On WordPress it's a plugin upload with a settings page and no code at all. The only genuinely no-code-access path is the iframe embed, which needs just an embed block.
Does a support widget slow down my site?
Ours is designed not to: the script loads async so it never blocks rendering, it's a single self-contained file cached for five minutes, and it mounts into a shadow DOM after the page is up. On Shopify specifically, the embed loads after page load so storefront performance scores aren't affected.
Can I use the same widget if I self-host?
Yes — that's a deliberate design decision. The widget resolves its API origin from wherever widget.js was served, so a self-hosted install uses the identical snippet pointed at your own domain. The whole product is MIT-licensed on GitHub; self-hosting is free with your own model keys.
How much does a hosted AI support agent cost?
As of July 2026, our hosted plans are Starter at $19/month (2,000 AI responses, hard stop), Growth at $89/month (12,000), and Scale at $299/month (50,000), with annual billing giving two months free. Pricing is per workspace — no per-seat fees and no per-resolution fees — and there's no free hosted tier. Details on /pricing.
How does the agent know what to answer?
It answers from your project's knowledge base — crawled URL snapshots, text snippets, and hand-written Q&A pairs — combined with your system prompt, on web-search-capable models via LLM Gateway. When it can't answer, it escalates to your email and Slack instead of improvising.